Returns Workflow
Understand the complete returns workflow in ReturnMate, from request to resolution.
The ReturnMate returns workflow guides each return from initial request through to final resolution. Understanding this workflow helps you process returns efficiently and provide excellent customer service.
Workflow Overview

The typical return follows these stages:
- Request → Customer initiates return
- Review → Team reviews and approves
- Ship → Customer sends package
- Receive → Warehouse receives package
- Inspect → Items are assessed
- Resolve → Refund, exchange, or credit issued
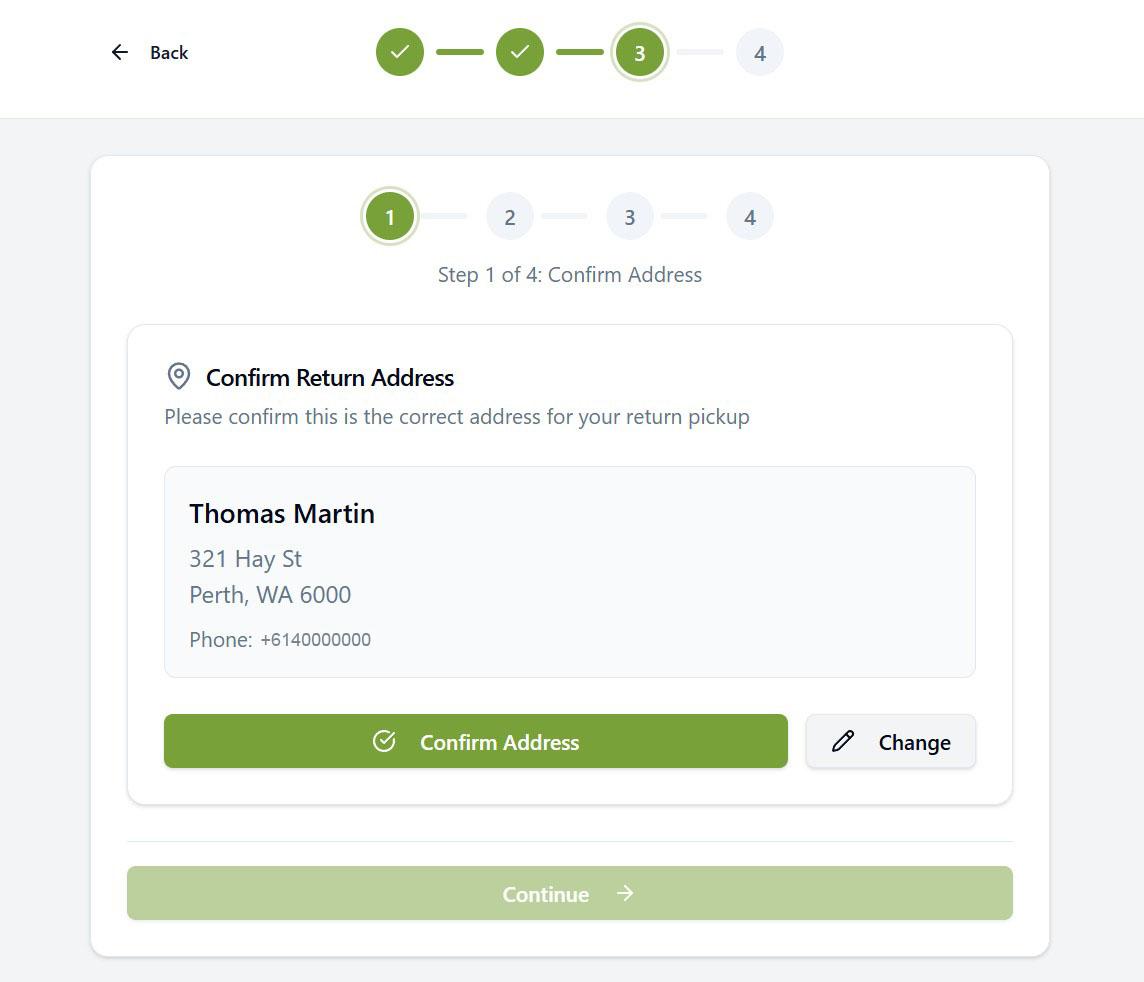
Stage 1: Return Request
Customer-Initiated Returns
Customers initiate returns through your branded return portal:
- Customer visits your return portal URL
- Enters order number or email to find their order
- Selects items to return
- Chooses return reason
- Uploads photos (if required)
- Submits the request
Staff-Created Returns
Your team can create returns manually:
- In ReturnMate, click Create RMA
- Search for the customer's order
- Select items and reasons
- Add any notes or documentation
- Submit the RMA
Staff-created RMAs can bypass certain requirements (like photos) when needed for customer service exceptions.
Stage 2: Review & Approval
Depending on your settings, returns may be:
Auto-Approved
Returns that meet all criteria are approved automatically:
- Within return window
- Standard return reasons
- No high-value thresholds exceeded
Requires Review
Returns flagged for manual review:
- High-value items
- Outside standard return window
- Warranty claims
- Damage claims requiring verification
Review Process
- Return appears in the Pending Review queue
- Staff reviews return details and photos
- Approves, requests more information, or rejects
- Customer is notified of decision
Stage 3: Shipping
Once approved, the customer receives shipping instructions:
Prepaid Label
If your policy provides free returns:
- ReturnMate generates a shipping label
- Label is emailed to the customer
- Customer prints and attaches label
- Customer drops off at carrier location
Customer-Paid Returns
If the customer pays for shipping:
- Customer receives return address
- Customer arranges their own shipping
- Customer provides tracking number (optional)
Collection Booking
For bulky items or customer convenience:
- Staff books a collection through ReturnMate
- Carrier collects from customer's address
- Tracking is automatically updated
Stage 4: Receiving
When the package arrives at your warehouse:
Quick Receiving
For standard returns:
- Scan the RMA barcode or enter RMA number
- Confirm package arrival
- Status updates to "Received"
- Customer is notified automatically
Detailed Receiving
For returns requiring inspection:
- Scan or enter the RMA number
- Check items against expected list
- Note any discrepancies
- Upload photos of received items
- Move to inspection queue
Use barcode scanners for faster receiving. ReturnMate generates barcodes on all shipping labels.
Stage 5: Inspection
Assess the returned items:
Standard Inspection
- Verify item matches the RMA
- Check condition against return reason
- Assess if item is resaleable
- Record condition notes
Condition Grades
| Grade | Description | Typical Resolution |
|---|---|---|
| A - Like New | Original packaging, unused | Full refund, restock |
| B - Good | Minor signs of use | Full refund, resell as open-box |
| C - Fair | Visible use, functions properly | Partial refund |
| D - Poor | Damaged or defective | Assess warranty/reject |
Documentation
- Take photos of item condition
- Note any damage or missing parts
- Document serial numbers for warranty items
- Record assessment in the timeline
Stage 6: Resolution
Complete the return with the appropriate resolution:
Refund
Issue a refund to the customer:
- Confirm refund amount
- Apply any deductions (restocking fees, shipping)
- Process refund to original payment method
- Customer receives confirmation email
Exchange
Send a replacement item:
- Select replacement product/variant
- Confirm shipping address
- Create exchange shipment
- Provide customer with new tracking
Store Credit
Issue credit for future purchases:
- Calculate credit amount
- Create credit in Shopify
- Customer receives credit code via email
Reject
If the return doesn't qualify:
- Document reason for rejection
- Offer alternatives (repair, partial credit)
- Arrange return of item to customer
- Customer is notified with explanation
Workflow Automation
ReturnMate can automate parts of the workflow:
Auto-Approve Rules
Configure automatic approval for:
- Returns within X days of delivery
- Specific return reasons
- Orders under a certain value
- Repeat customers
Auto-Refund Rules
Automatically process refunds when:
- Items pass inspection
- Condition meets threshold
- No manual review required
Email Automation
Trigger emails at each stage:
- Request received
- Label sent
- Package received
- Refund processed
Workflow Metrics
Track workflow performance in Reports:
| Metric | Description |
|---|---|
| Time to Label | Hours from request to label generation |
| Transit Time | Days from label creation to receipt |
| Inspection Time | Hours from receipt to inspection complete |
| Resolution Time | Total days from request to resolution |
Specialised Workflows
ReturnMate includes several specialised workflows for specific return scenarios:
| Workflow | Use Case | Guide |
|---|---|---|
| Counter Swap | In-store product replacement | Counter Swap |
| Damaged / Wrong Item | Customer received damaged or incorrect item | Damaged & Wrong Item |
| Remote Resolve | Resolve without requiring item return | Remote Resolve |
| Replace in Transit | Send replacement before return arrives | Replace in Transit |
| Customer Pickup | Customer collects from store | Customer Pickup |
| Staff-Created Returns | Create returns on behalf of customers | Staff-Created Returns |
| Dispute Management | Flag and resolve return disputes | Dispute Management |
| Offline Repair | Internal diagnostics and repair | Offline Repair |
| Third-Party Repair | Out-of-warranty repair with quotes | Third-Party Repair |
| Multi-Store Transfer | Transfer items between locations | Transfer Workflow |